· Lawn Mower Repair · 7 min read
Cub Cadet Zero Turn Pto Not Engaging
Cub Cadet Zero Turn PTO Not Engaging: A Comprehensive Guide
Have you been frustrated by a Cub Cadet zero turn mower where the PTO won’t engage? It’s a common problem that can quickly ruin your mowing day. A non-engaging PTO means your blades aren’t spinning, and you’re left with uncut grass. This article will walk you through the most likely causes and provide step-by-step troubleshooting to get your Cub Cadet’s PTO working again. We’ll cover everything from simple fixes to more complex repairs, ensuring you have the knowledge to tackle this issue head-on.
Takeaway:
- Check the PTO switch and safety interlocks first.
- Inspect the PTO clutch and belt for wear or damage.
- Verify the electrical connections to the PTO clutch.
- Consider a faulty solenoid as a potential cause.
Quick Answer:
If your Cub Cadet zero turn PTO isn’t engaging, the most common culprits are a faulty PTO switch, a worn or broken PTO belt, a damaged PTO clutch, or an electrical issue preventing power from reaching the clutch. Systematically checking these components will usually pinpoint the problem.
Understanding Your Cub Cadet Zero Turn PTO System
Before diving into troubleshooting, let’s quickly understand how the PTO system works. The PTO (Power Take-Off) is responsible for transferring power from the engine to the mower deck, spinning the blades. It consists of a PTO switch, safety interlocks, a PTO clutch, a belt, and associated wiring. When you engage the PTO switch, it sends a signal to the PTO clutch, which then engages the belt, transferring power to the blades. Understanding this system helps you narrow down the potential causes when it malfunctions. A properly functioning PTO is crucial for efficient mowing, so let’s get it fixed.
1. Checking the Safety Interlocks and PTO Switch
Safety is paramount with zero turn mowers. Cub Cadet incorporates multiple safety interlocks – the seat switch, brake pedal switch, and blade engagement switch – to prevent accidental operation. If any of these switches are faulty, the PTO won’t engage, even if everything else is working correctly. Start by ensuring you are properly seated and the brake pedal is fully depressed. Then, check the PTO switch itself for any visible damage.
- Seat Switch: Ensure the seat switch is functioning. Sometimes, a simple adjustment or cleaning can resolve the issue.
- Brake Pedal Switch: Verify the brake pedal switch is activating when the pedal is pressed.
- PTO Switch Test: Use a multimeter to test the continuity of the PTO switch. If it doesn’t show continuity when engaged, the switch needs replacing. You can find replacement switches readily available online or at your local Cub Cadet dealer.
2. Inspecting the PTO Belt for Wear and Damage
The PTO belt is a critical component in transferring power. Over time, belts can wear, crack, glaze, or even break. A worn or damaged belt won’t grip properly, preventing the PTO from engaging. Visually inspect the belt for any signs of wear.
- Check for Cracks: Look closely for cracks along the belt’s ribbed surface.
- Inspect for Glazing: A glazed belt will appear shiny and smooth, reducing its grip.
- Verify Tension: Ensure the belt has the correct tension. A loose belt will slip and won’t effectively transfer power. If the belt is worn or damaged, replace it with a new one. Proper belt tension is vital for optimal performance. If you’re unsure about belt replacement, consider consulting a professional. You might also find helpful resources on how to maintain your mower’s hydrostatic transmission, like this guide on Cub Cadet RZT L-54 Hydrostatic Transmission Oil Change.
3. Diagnosing PTO Clutch Issues
The PTO clutch is the heart of the PTO system. It’s an electromagnetic clutch that engages and disengages the blades. If the clutch is faulty, the PTO won’t engage. Several things can go wrong with the PTO clutch.
- Worn Clutch Pads: The clutch pads wear down over time, reducing their ability to grip.
- Damaged Clutch Coil: The electromagnetic coil can fail, preventing the clutch from engaging.
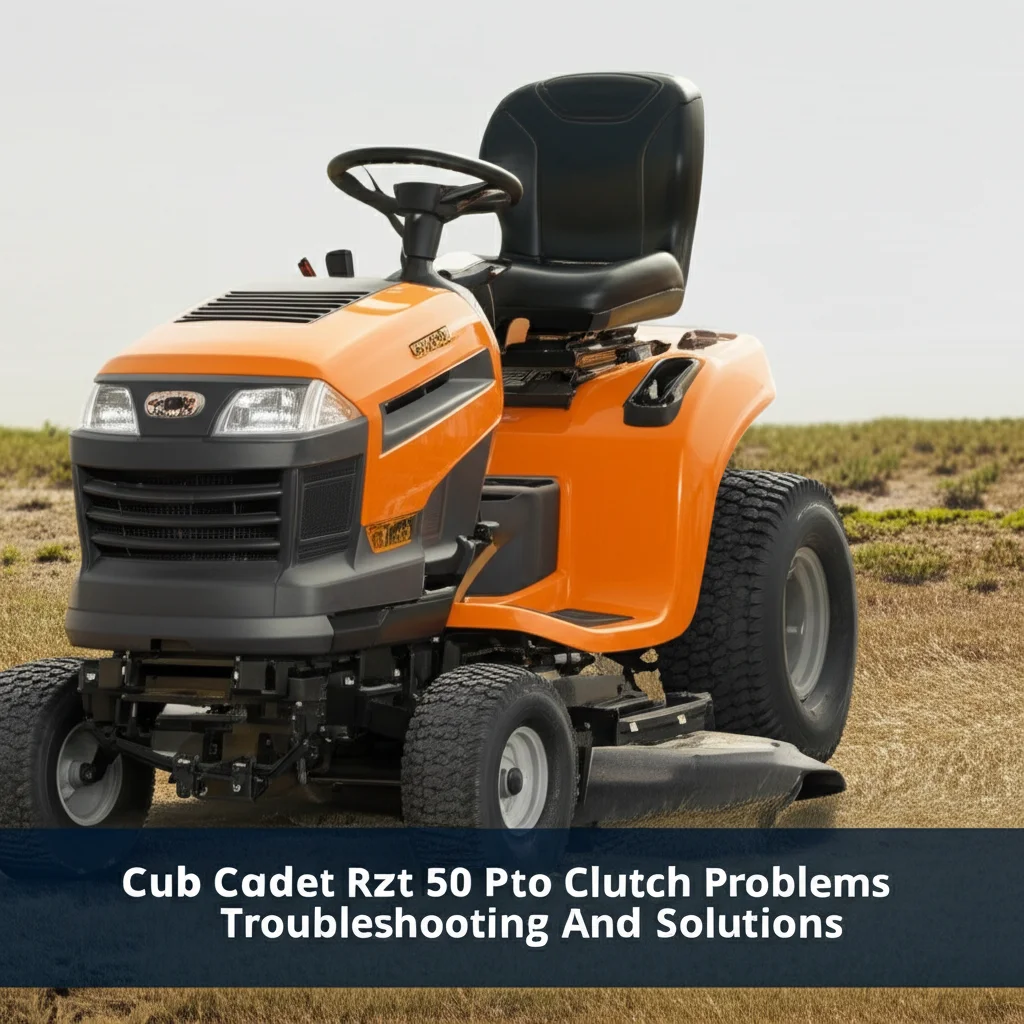
- Air Gap: The air gap between the clutch and flywheel needs to be within a specific range. An incorrect air gap can prevent proper engagement. You can check the air gap with a feeler gauge. If the clutch is damaged, it will likely need to be replaced. Troubleshooting the RZT-50 PTO clutch can be complex, so check out this resource: Cub Cadet RZT-50 PTO Clutch Problems Troubleshooting and Solutions.
4. Examining the Electrical Connections
Electrical problems are a common cause of PTO engagement issues. Loose or corroded connections can prevent power from reaching the PTO clutch. Carefully inspect all wiring connections to the PTO clutch, PTO switch, and solenoid.
- Check for Loose Connections: Ensure all connections are tight and secure.
- Inspect for Corrosion: Clean any corroded connections with a wire brush or electrical contact cleaner.
- Test Wiring for Continuity: Use a multimeter to test the continuity of the wiring. If you find a break in the wiring, repair or replace it. Pay close attention to the ground connections, as a poor ground can also cause issues.
5. Testing the PTO Solenoid
The PTO solenoid acts as a switch, providing power to the PTO clutch when the PTO switch is engaged. A faulty solenoid can prevent the clutch from receiving power.
- Solenoid Test: Use a multimeter to test the solenoid. Apply voltage to the solenoid and check if it clicks. If it doesn’t click, the solenoid is likely faulty and needs replacing.
- Voltage Check: Verify that the solenoid is receiving voltage when the PTO switch is engaged. If it’s not receiving voltage, trace the wiring back to the switch and check for breaks or shorts. Replacing a solenoid is usually a straightforward process, but always disconnect the battery before working on the electrical system.
6. Addressing Potential Engine Issues
While less common, engine problems can sometimes manifest as a PTO not engaging. If the engine isn’t running at the correct speed, the PTO clutch may not have enough power to engage.
- Check Engine Speed: Verify that the engine is running at the correct RPM.
- Carburetor Issues: A dirty or malfunctioning carburetor can cause the engine to run poorly. Consider cleaning or rebuilding the carburetor. You can find helpful information on Cub Cadet Zero Turn Carburetor Problems Troubleshooting Tips Solutions.
- Air Filter: A clogged air filter can restrict airflow to the engine, reducing its power. Replace the air filter if it’s dirty.
FAQ: Cub Cadet Zero Turn PTO Problems
Q: Why won’t my Cub Cadet PTO engage even after replacing the belt? A: If the belt isn’t the issue, the problem likely lies with the PTO clutch, solenoid, or electrical connections. Double-check the clutch for wear, test the solenoid for functionality, and inspect all wiring for damage or corrosion.
Q: Can a low battery cause the PTO to not engage? A: Yes, a weak battery can sometimes prevent the PTO solenoid from receiving enough power to engage the clutch. Ensure your battery is fully charged and in good condition.
Q: How do I know if my PTO clutch is bad? A: A bad PTO clutch will often show signs of wear, such as glazed or damaged clutch pads. It may also fail to engage even when receiving power.
Q: Is it safe to bypass the safety interlocks? A: Absolutely not! Bypassing safety interlocks is extremely dangerous and can lead to serious injury. Always ensure all safety features are functioning correctly.
Conclusion
A Cub Cadet zero turn PTO not engaging can be a frustrating problem, but with a systematic approach to troubleshooting, you can often diagnose and fix the issue yourself. Remember to start with the simplest checks – the safety interlocks and PTO switch – and then move on to more complex components like the PTO clutch and solenoid. Don’t hesitate to consult your owner’s manual or a qualified mechanic if you’re unsure about any step. Getting your PTO working again means getting back to enjoying a beautifully mowed lawn. If you’re still having trouble starting your mower, you might want to review this guide on Cub Cadet Zero Turn Starting Problems Overcome Them With Ease.
- Cub Cadet PTO
- Zero Turn Mower
- PTO Clutch
- Mower Repair