· Lawn Mower Maintenance · 6 min read
Hydrostatic Lawn Mower Transmission Problems Troubleshooting Guide

Hydrostatic Lawn Mower Transmission Problems: A Comprehensive Guide
Is your lawn mower struggling to move, making strange noises, or losing power? Chances are, you might be dealing with a hydrostatic transmission problem. A hydrostatic transmission is a vital component of many riding lawn mowers, providing smooth and variable speed control. Understanding how it works and recognizing common issues can save you a costly repair bill. This guide will walk you through diagnosing and troubleshooting common hydrostatic lawn mower transmission problems, helping you get back to mowing your lawn with ease. We’ll cover everything from simple fixes to more complex repairs.
Takeaway:
- Check the transmission fluid level regularly.
- Look for leaks around the transmission housing and lines.
- Listen for unusual noises during operation.
- Consider professional help for complex repairs.
What is a Hydrostatic Transmission and How Does it Work?
A hydrostatic transmission uses hydraulic fluid to transfer power from the engine to the wheels. It’s different from traditional gear-based transmissions, offering smoother operation and variable speed control without shifting gears. This system relies on a pump and a motor; the pump, driven by the engine, pushes fluid to the motor, which turns the wheels. The amount of fluid directed to the motor controls the speed and direction of the mower.
1. Loss of Power or Slow Movement
One of the most common complaints is a noticeable loss of power or significantly slower movement. This often indicates a problem within the hydrostatic system itself. First, check the transmission fluid level. Low fluid is a frequent culprit, reducing the system’s efficiency. If the fluid is low, top it off with the manufacturer-recommended type – using the wrong fluid can cause further damage. Also, inspect the drive belt for wear or breakage, as a slipping belt can mimic transmission issues. You can find more information on general lawn mower maintenance, including belt checks, here.
2. Unusual Noises: Whining, Clicking, or Grinding
Strange noises coming from the transmission area are a clear sign something isn’t right. A whining sound often suggests a failing pump or motor, while clicking noises could indicate internal damage to the transmission components. Grinding sounds are particularly concerning, potentially signaling severely worn gears or bearings. Don’t ignore these sounds; continued operation can lead to catastrophic failure. If you’re experiencing noises, it’s best to stop using the mower and investigate further.
3. Leaking Transmission Fluid
Discovering a puddle of reddish-brown fluid under your lawn mower is a red flag. Transmission fluid leaks can stem from several sources, including damaged seals, cracked housings, or loose fittings. Locate the source of the leak and address it promptly. Small leaks can often be fixed with replacement seals or tightening fittings, but larger cracks may require professional repair or transmission replacement. Remember to always disconnect the spark plug before working on any part of your mower.
4. Mower Moves Fine in One Direction, But Not the Other
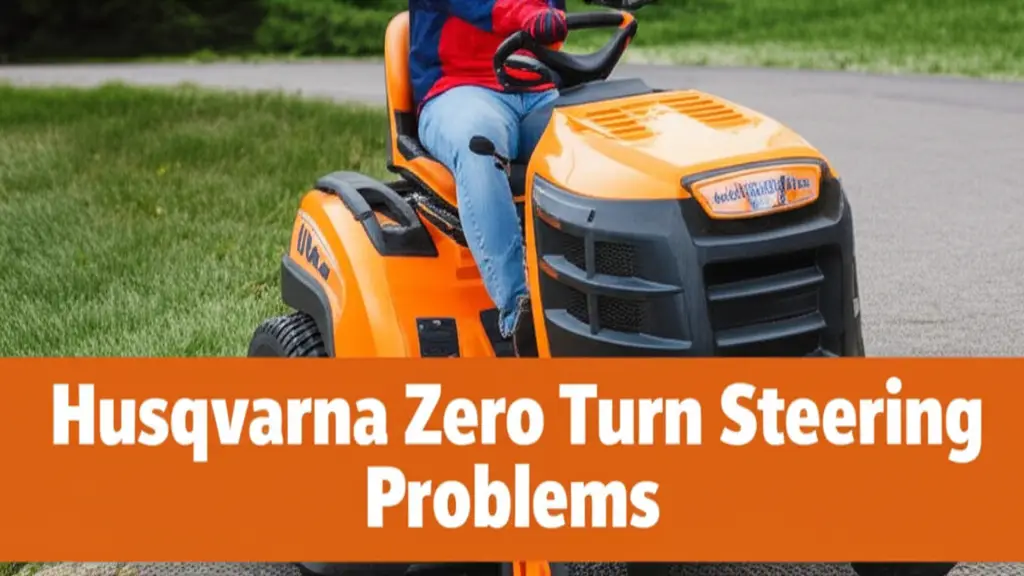
This symptom often points to a problem with the charge pump or the control linkage. The charge pump maintains pressure in the system, and if it’s failing, it might not provide enough pressure for both forward and reverse operation. Check the control linkage to ensure it’s moving freely and isn’t obstructed. Sometimes, a simple adjustment of the linkage can resolve the issue. If you have a Husqvarna mower experiencing similar issues, you might find helpful tips here.
5. Intermittent Operation or Jerky Movement
If your mower operates erratically, with intermittent power or jerky movements, it could be due to air in the hydrostatic system or a partially clogged filter. Air can enter the system through leaks or during fluid changes. Bleeding the system, following the manufacturer’s instructions, can often resolve this issue. A clogged filter restricts fluid flow, causing inconsistent performance. Regularly replacing the transmission filter is crucial for maintaining optimal operation.
6. Pedal Issues: Sticking or Unresponsive
Problems with the foot pedal controlling the speed and direction are common. A sticking pedal can indicate a buildup of dirt and debris in the linkage or a worn-out spring. An unresponsive pedal might suggest a faulty control module or a broken linkage. Inspect the pedal mechanism, clean away any obstructions, and lubricate moving parts. If the problem persists, a professional diagnosis is recommended. Understanding how to disengage the hydrostatic transmission can be helpful for maintenance; learn more here.
7. Overheating Transmission
While less common, an overheating transmission is a serious issue. Overheating can damage seals and internal components, leading to failure. This can be caused by prolonged use under heavy load, low fluid levels, or a clogged cooling system (if equipped). Allow the transmission to cool down completely before checking the fluid level. Ensure the cooling fins are clean and free of debris.
FAQ: Hydrostatic Transmission Troubleshooting
Q: How often should I check my hydrostatic transmission fluid? A: You should check the fluid level at least once a season, and more frequently if you notice any performance issues. Regular checks help prevent damage caused by low fluid levels.
Q: What type of fluid should I use in my hydrostatic transmission? A: Always use the fluid specified in your lawn mower’s owner’s manual. Using the wrong fluid can cause significant damage to the transmission.
Q: Can I repair a leaking transmission seal myself? A: Minor seal leaks can sometimes be repaired with replacement seals, but it requires some mechanical skill and the correct tools. Larger leaks or damage to the transmission housing usually require professional attention.
Q: What does it mean if my mower won’t move at all? A: A complete lack of movement could indicate a severely damaged pump, motor, or a completely empty transmission. Check the fluid level first, and if that’s not the issue, professional diagnosis is needed.
Q: Is it normal for a hydrostatic transmission to make some noise? A: A slight hum is normal, but loud whining, clicking, or grinding noises are not. These sounds indicate a problem that needs to be addressed.
Conclusion
Hydrostatic lawn mower transmission problems can be frustrating, but many issues are diagnosable and fixable with a little knowledge and effort. Regularly checking your fluid levels, listening for unusual noises, and addressing leaks promptly can significantly extend the life of your transmission. Remember, a hydrostatic transmission is a complex system, and if you’re uncomfortable tackling a repair yourself, don’t hesitate to seek professional help. Maintaining your lawn mower’s hydrostatic transmission ensures smooth operation and keeps you mowing efficiently for years to come. Don’t let transmission troubles keep you off your lawn – proactive maintenance and timely repairs are key!