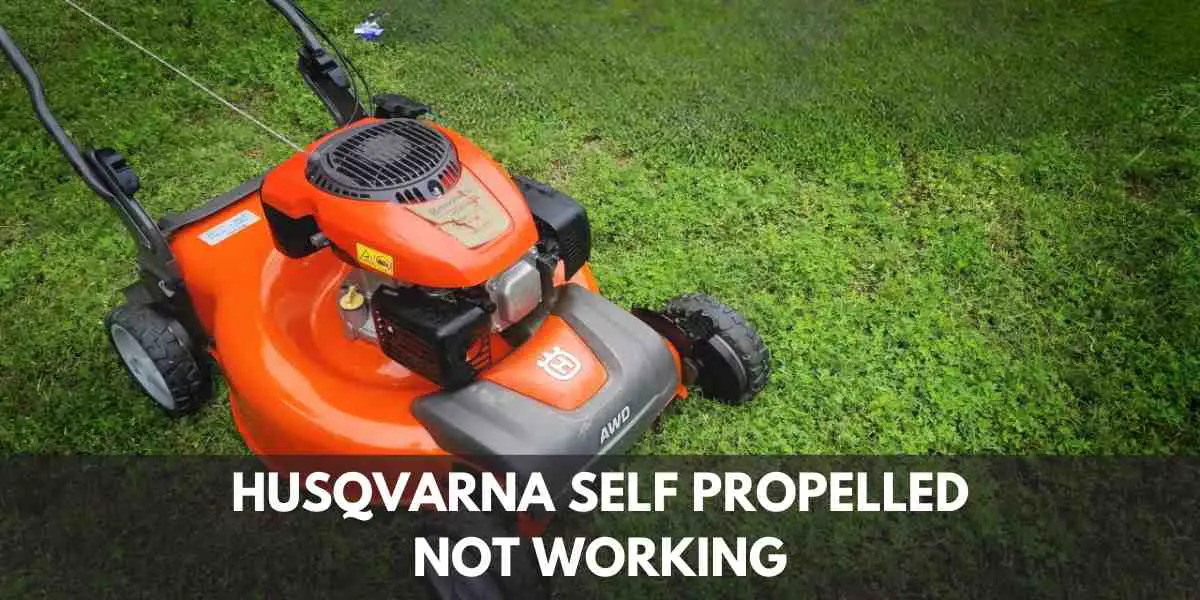
Husqvarna Self Propelled Not Working: Troubleshooting Tips for a Smooth Fix
If your Husqvarna self-propelled mower is not working, troubleshoot by checking the drive control cable and belt tension. A common cause is a loose or damaged drive belt, which can be resolved by tightening or replacing it.
Another possible issue is a worn or broken drive control cable, which should be inspected and replaced if necessary. Additionally, ensure that the drive wheels are not clogged with debris or grass clippings and are able to rotate freely.
By addressing these potential problems, you can get your Husqvarna self-propelled mower working again efficiently.
Insufficient Fuel Or Clogged Fuel System
One of the common reasons why a Husqvarna self-propelled mower may not work is due to an insufficient fuel supply or a clogged fuel system.
When the fuel system is blocked or there is not enough fuel, the engine will not receive the necessary power to start or run smoothly. To troubleshoot this issue, follow these steps:
Check fuel tank for proper fuel level
Firstly, verify the fuel level in the tank. A low fuel level can cause the mower to stop working. Make sure the tank is filled with the appropriate type of fuel recommended by Husqvarna.
Checking the fuel level before starting the mower can help avoid interruptions during the mowing process.
Ensure fuel valve is in the “on” position
Next, ensure that the fuel valve is in the “on” position. Sometimes, users may inadvertently switch off the fuel valve, which prevents fuel from reaching the engine.
Look for the fuel valve located on the fuel line, typically near the fuel tank, and make sure it is turned to the “on” position.
Clean spark plug and confirm it is properly connected
A clogged or faulty spark plug can also contribute to a Husqvarna self-propelled mower not working. Start by locating the spark plug, which is usually positioned at the front or side of the engine.
Remove the spark plug using an appropriate spark plug wrench. Inspect for any dirt or debris on the plug and clean it if necessary.
Additionally, check that the spark plug is properly connected to the ignition system and tightened securely.
In conclusion, if your Husqvarna self-propelled mower is not working, make sure to check the fuel system for any issues.
Verify the fuel tank’s fuel level, ensure the fuel valve is in the “on” position, and clean and confirm the proper connection of the spark plug.
These troubleshooting tips can help restore your mower’s functionality and get you back to maintaining a beautiful lawn.
Drive Belt Issues
Examine drive belt for signs of wear or damage
A common issue that can cause a Husqvarna self-propelled mower to stop working is a problem with the drive belt.
The drive belt is responsible for transferring power from the engine to the wheels, allowing the mower to move forward or backward.
Over time, the drive belt can become worn or damaged, preventing it from properly engaging with the engine and wheels.
To determine if the drive belt is the culprit behind your self-propelled mower not working, start by visually inspecting the belt for any signs of wear or damage. Look for fraying, cracks, or any other irregularities that may indicate a problem.
Check tension of drive belt
In addition to examining the drive belt for signs of wear or damage, it’s crucial to check the tension of the belt. The drive belt should be tight enough to ensure proper engagement with the engine and wheels, without being overly strained.
To check the tension of the drive belt, locate the belt tensioner on your Husqvarna mower. This is typically a spring-loaded pulley system that controls the tightness of the belt. Using a wrench or socket, you can adjust the tension by loosening or tightening the tensioner. It’s important to consult your mower’s manual for the proper tension specifications.
Replace drive belt if it is worn or broken
If you’ve examined the drive belt and found it to be worn or broken, it’s time to replace it. A worn or broken drive belt will not effectively transfer power from the engine to the wheels, resulting in a loss of self-propulsion.
Replacing the drive belt on your Husqvarna self-propelled mower is a relatively straightforward process, but it may vary depending on the specific model. Consult your mower’s manual for step-by-step instructions on how to properly replace the drive belt.
In conclusion, drive belt issues can be a common cause for a Husqvarna self-propelled mower to stop working.
By examining the drive belt for signs of wear or damage, checking the tension, and replacing the belt if necessary, you can ensure that your mower’s self-propulsion system is in proper working order, allowing you to effortlessly maintain your lawn.
Faulty Drive System
In this section, we will discuss the common issue of a faulty drive system in your Husqvarna self-propelled mower.
This problem can lead to the self-propelled feature not working properly and can be a frustrating experience. However, with some troubleshooting tips, you may be able to identify and resolve the issue quickly.
Assess drive control cable for any obstructions or damage
One of the first things you should check is the drive control cable. This cable is responsible for engaging and disengaging the self-propelled feature. If it is obstructed or damaged in any way, it can prevent the mower from moving forward. To assess the drive control cable:
- Start by adjusting the control handle to the neutral position and ensure the engine is off.
- Inspect the cable for any visible obstructions such as debris, grass clippings, or damage.
- If you notice any obstructions, carefully remove them using a brush or clean cloth, ensuring not to damage the cable.
- If the cable is damaged or worn, it may need to be replaced. Contact a professional or refer to the owner’s manual for guidance in this case.
Inspect drive wheel and axle for signs of wear or damage
The drive wheel and axle are crucial components of the self-propelled system. Over time, they can experience wear and tear, leading to the self-propelled feature not working properly.
To inspect these:
- Ensure the mower is turned off and in a safe position.
- Examine the drive wheel and axle for any visible signs of wear, such as cracks, flat spots, or missing tread.
- If you notice any signs of damage, it may be necessary to replace the drive wheel or axle. Consult a professional or refer to the owner’s manual for guidance.
Lubricate drive system components if necessary
Lubricating the drive system components can help ensure smooth operation and prevent issues with the self-propelled feature. To lubricate the drive system components:
- Refer to the owner’s manual to identify the lubrication points on your Husqvarna mower.
- Apply an appropriate lubricant, such as lithium grease or silicone spray, to the designated points.
- Be careful not to over-lubricate, as this can attract dirt and debris, leading to further issues.
Engine Problems
One of the most frustrating issues you may encounter with your Husqvarna self-propelled mower is engine problems.
When the engine isn’t functioning properly, it can cause your mower to stop working altogether. However, before you panic, there are a few troubleshooting tips you can try to resolve the issue.
Verify that the engine switch is in the “on” position
If your Husqvarna self-propelled mower won’t start or is suddenly shutting off, the first thing you should check is the position of the engine switch. Sometimes, this switch can accidentally be turned off, leading to a non-responsive mower. To verify the status of the switch:
- Locate the engine switch on your mower. It is typically located near the handle or the control panel.
- Ensure that the switch is in the “on” position. This position is usually indicated by the letters “ON” or a symbol resembling a power icon.
- If the switch is currently in the “off” position, slide it to the “on” position and try starting your mower again.
Clean or replace air filter if necessary
A clogged or dirty air filter can obstruct the airflow to the engine, causing it to run inefficiently or not start at all.
To clean or replace the air filter:
- Locate the air filter housing on your Husqvarna self-propelled mower. It is usually near the engine.
- Remove the screws or clips securing the air filter housing, exposing the air filter.
- If the filter is dirty or clogged with debris, remove it and gently tap it on a flat surface to remove loose dirt and debris. If the filter is in poor condition or heavily clogged, replace it with a new one.
- Reinstall the air filter housing, ensuring it is properly secured.
- Try starting your mower again to see if the engine performance improves.
Check oil level and top up if needed
Insufficient or dirty oil can lead to engine problems and may prevent your Husqvarna self-propelled mower from functioning correctly.
To check the oil level:
- Locate the oil dipstick on the engine. It is typically attached to the oil fill cap.
- Remove the dipstick and wipe it clean with a cloth or paper towel.
- Insert the dipstick back into the oil fill opening, ensuring it is fully seated.
- Remove the dipstick again and check the oil level. The dipstick will have markings indicating the acceptable range for oil level. If the oil level is low, add the recommended oil type and quantity according to your mower’s manual.
- Once the oil level is topped up, reinsert the dipstick and tighten the oil fill cap securely.
By verifying the engine switch position, cleaning or replacing the air filter when necessary, and checking and topping up the oil level, you can address several engine problems that may be causing your Husqvarna self-propelled mower to not work properly.
Other Common Issues To Consider
These troubleshooting steps are simple yet effective in ensuring your mower is in optimal condition and ready to tackle your lawn maintenance tasks.
Check wheels for debris or obstructions
When it comes to troubleshooting a Husqvarna self-propelled lawn mower that is not working, it is important to consider other common issues that may be preventing it from operating properly.
One common issue to check for is debris or obstructions in the wheels. Over time, grass clippings, leaves, and other debris can accumulate in the wheels, causing them to become clogged or stuck. This can result in the mower not moving or moving sluggishly.
Therefore, it is important to regularly inspect and clean the wheels of your Husqvarna self-propelled mower.
To ensure the wheels are free from debris or obstructions, follow these steps:
1. Lift the mower and place it on a sturdy work surface or elevate the front wheels by using a block or a small step.
2. Examine each wheel carefully for any debris, such as grass clippings, sticks, or rocks.
3. Remove any visible obstructions using a brush, gloved hands, or a compressed air canister.
4. Once the wheels are clear of debris, check their movement by manually rotating them. They should spin freely and without any resistance.
5. If you notice any damage to the wheels or if they do not rotate smoothly even after removing the debris, it may be necessary to replace them. Contact an authorized Husqvarna dealer for assistance.
Examine control handle for proper engagement
Another common issue that can cause a Husqvarna self-propelled mower to not work as it should is the control handle not engaging properly.
The control handle is responsible for activating the self-propulsion feature, allowing the mower to move forward. If the control handle is not engaged correctly, the mower may not move or may not move at the desired speed.
To check the control handle for proper engagement, follow these steps:
1. Start by checking that the control handle is in the correct position. It should be fully pressed against the handlebar, ensuring a tight and secure connection.
2. Look for any signs of wear or damage on the control handle. If any parts are broken or damaged, they may need to be replaced. Again, it is recommended to contact an authorized Husqvarna dealer for assistance.
3. Once you have visually inspected the control handle, test its engagement by squeezing it firmly and checking if the self-propulsion feature is working as intended.
4. If the control handle is still not engaging properly, try adjusting the tension using the adjustment knobs or levers provided. Refer to the owner’s manual for specific instructions on how to adjust the control handle tension.
Clean and inspect cutting blade for damage or dullness
An often overlooked but crucial part of troubleshooting a Husqvarna self-propelled mower is to clean and inspect the cutting blade.
A damaged or dull blade can hinder the mower’s performance and result in an uneven or poor quality cut. Therefore, it is important to regularly clean and inspect the cutting blade for any signs of damage or dullness.
To clean and inspect the cutting blade, follow these steps:
1. Ensure the mower is turned off and the spark plug wire is disconnected to prevent accidental starting.
2. Carefully tilt the mower to access the cutting blade while ensuring the fuel tank is empty or nearly empty to avoid spills.
3. Use a brush or a cloth to remove any built-up grass clippings, dirt, or debris from the cutting blade.
4. Inspect the blade for any signs of damage, such as chips, cracks, or excessive wear. If you notice any damage, it is recommended to replace the blade with a new one.
5. Additionally, check the cutting blade for dullness. A dull blade can tear the grass instead of cleanly cutting it, resulting in an unhealthy-looking lawn. If the blade is dull, it can be sharpened using a file or replaced.
By taking the time to check the wheels, examine the control handle, and clean and inspect the cutting blade, you can troubleshoot and potentially resolve common issues that may be preventing your Husqvarna self-propelled mower from working properly.
Regular maintenance and inspection of these components will help ensure optimal performance and a healthy, well-maintained lawn.
Troubleshooting Tips For A Smooth Fix
Encountering issues with your Husqvarna self-propelled mower can be frustrating, but with the right troubleshooting steps, you can quickly get it back in optimal working condition.
Whether you are experiencing difficulty starting the mower, poor cutting performance, or any other problem, this guide will provide you with some helpful tips to diagnose and resolve the issue.
Refer to the user manual for specific troubleshooting steps
When facing any technical issue with your Husqvarna self-propelled mower, the user manual is your best friend. It contains valuable information about your specific model, including troubleshooting steps tailored for your mower.
Take the time to carefully read through the manual and locate the troubleshooting section. Here, you will find step-by-step instructions on how to tackle common problems, along with recommended solutions.
By following the manufacturer’s guidelines, you can ensure a safe and efficient fix.
Consult a professional
If you have tried troubleshooting the problem but are still unable to resolve it, it may be time to call in the professionals.
There is no shame in seeking expert help when dealing with complex technical issues. Search for authorized Husqvarna service centers or reach out to a certified technician who specializes in Husqvarna mowers.
These professionals have the knowledge and experience to diagnose the root cause of the problem and provide you with an accurate solution.
Remember, investing in professional assistance can save you time, money, and potentially prevent further damage to your mower.
Regular maintenance and servicing can help prevent future problems
Prevention is always better than cure, and this holds true for your Husqvarna self-propelled mower as well. One of the best ways to avoid encountering issues in the first place is by practicing regular maintenance and servicing.
Keep your mower clean by removing debris and clippings after each use. Check the oil levels, air filter, and spark plug regularly, and replace them as needed. Additionally, schedule routine servicing with a qualified technician who can inspect and optimize the mower’s performance.
By staying proactive with maintenance, you can significantly reduce the likelihood of facing unexpected problems and ensure that your mower runs smoothly throughout its lifespan.
Frequently Asked Questions
Why Has My Self-Propelled Mower Stopped Propelling?
Your self-propelled mower may have stopped propelling due to a variety of reasons, such as a worn-out drive belt, a broken transmission, or a faulty drive system. It is recommended to check these components and consult a professional for necessary repairs or replacements.
How Do You Adjust A Self-Propelled Lawn Mower Cable?
To adjust a self-propelled lawn mower cable, locate the cable adjustment nut, loosen it with a wrench, adjust the tension by either tightening or loosening the nut, and then tighten it back. Test the mower to ensure smooth operation.
Final Words
Troubleshooting your Husqvarna self-propelled mower is essential for maintaining its optimal performance. By following these troubleshooting tips, you can easily diagnose and resolve any issues that may arise. Remember to check the fuel, spark plug, and air filter regularly, and make sure the drive system is properly engaged.
With proper maintenance and troubleshooting, your Husqvarna self-propelled mower will continue to work efficiently for years to come.
Read More:
Husqvarna Mower Foot Pedal Problems
Quick Fix- Husqvarna Riding Mower Not Reversing?